Skip to content
 Filling your own capsules at home is easier than you might think. Some people refrain from learning it themselves because they assume the process is complicated or requires professional help. In reality, knowing how to fill capsules requires only some simple tools and a considerable amount of practice.
Want to get a head start on your learning journey? Read on for this quick and simple guide on how to fill capsules efficiently.
Tools and Supplies You’ll Need
If you want to learn how to fill capsules, you’ll need the following supplies:
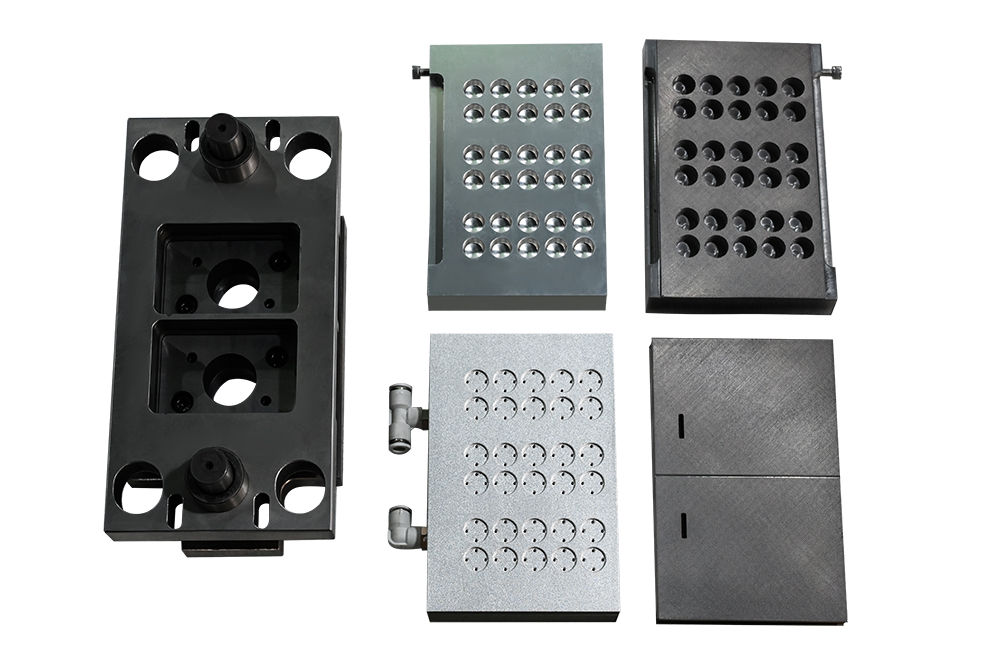
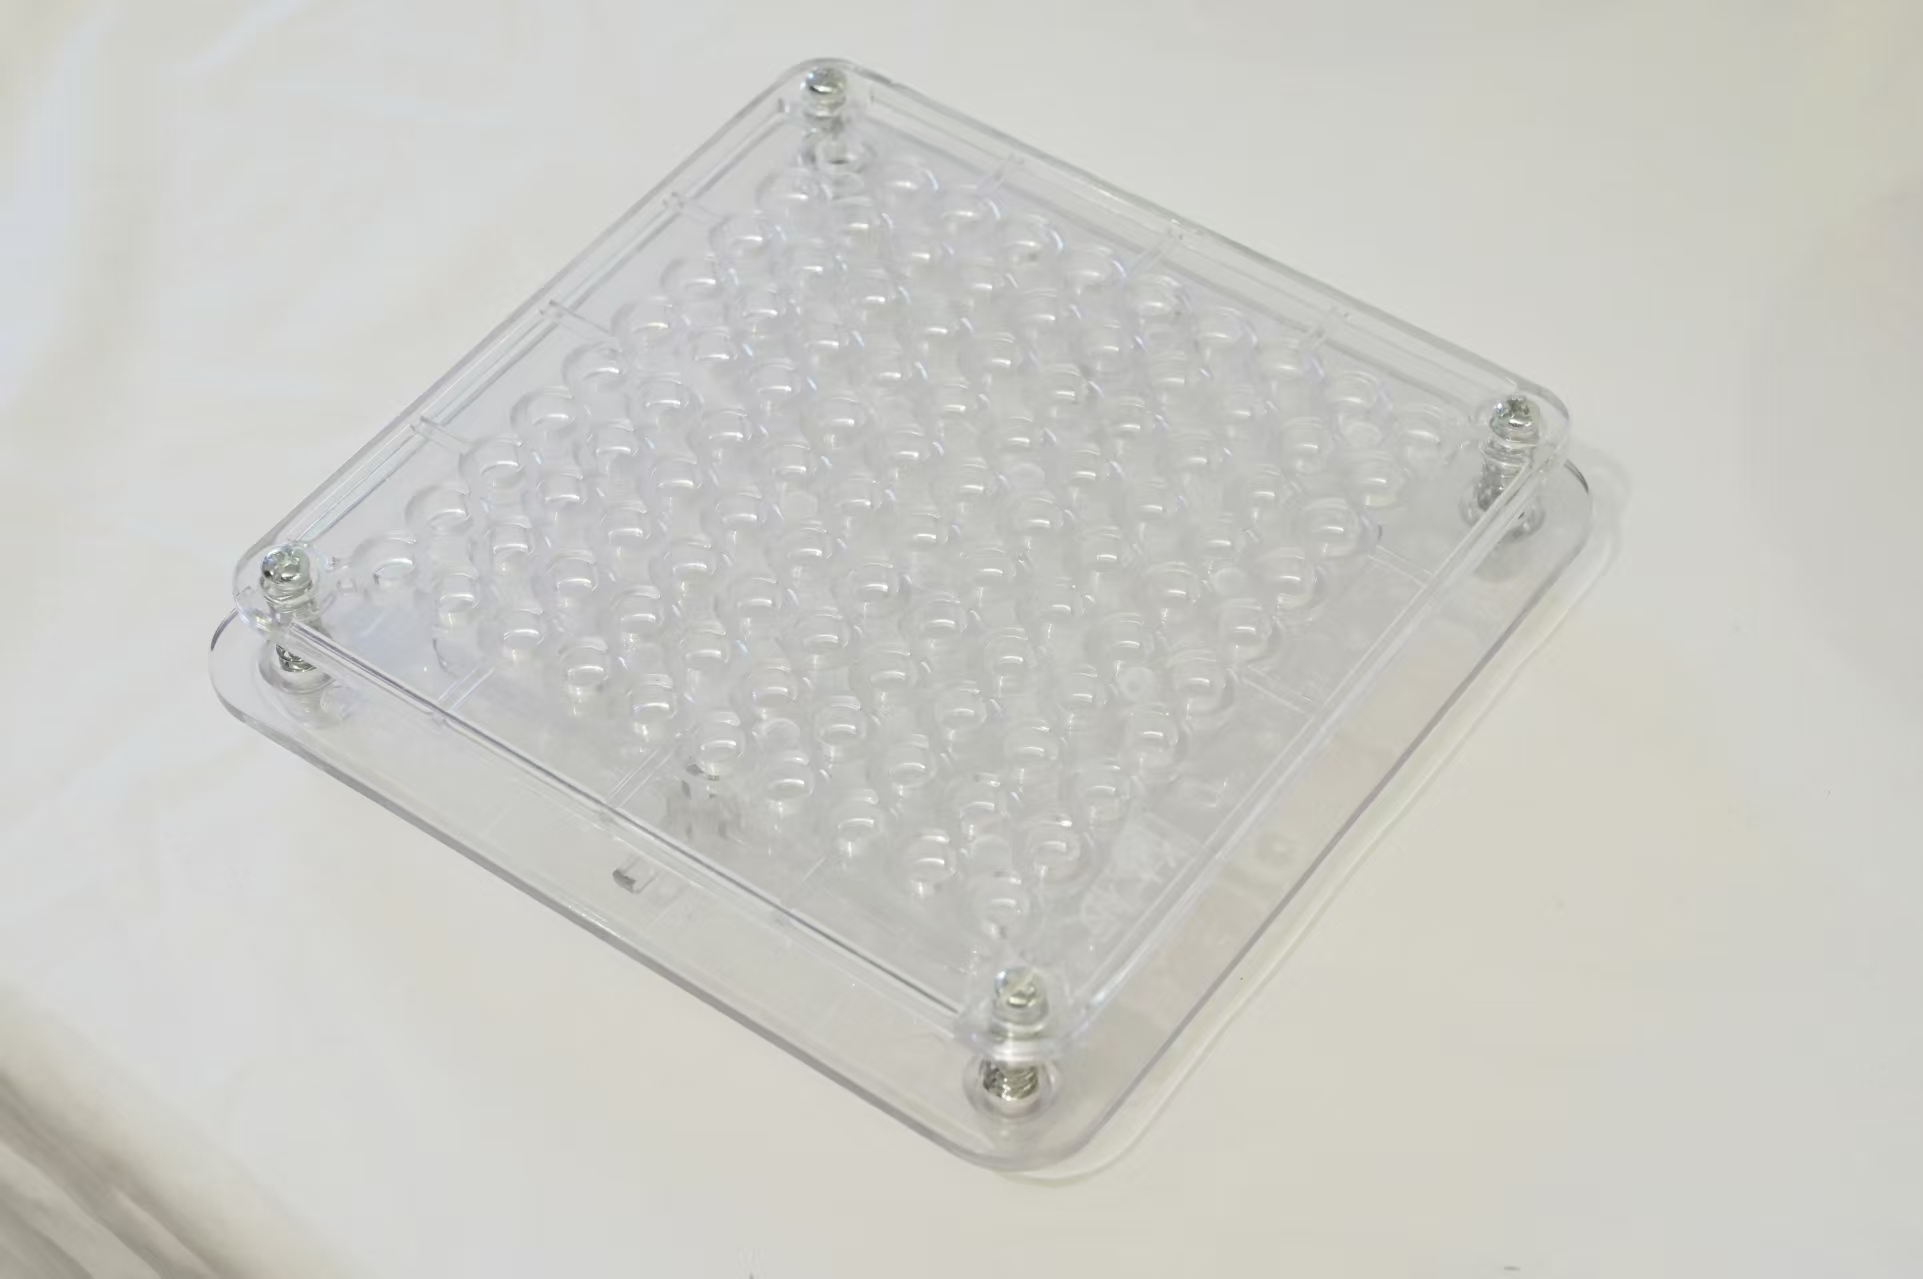
- Capsule filling plate (Sizes 0 to 5).
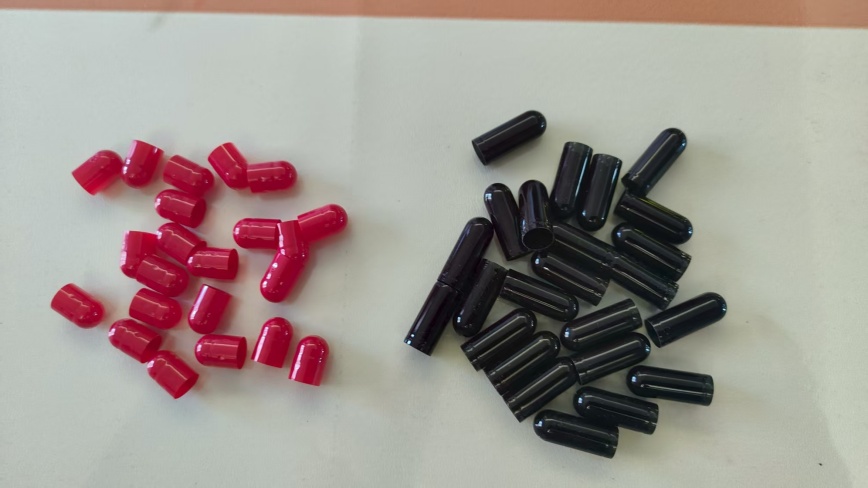
- Empty gelatin capsules
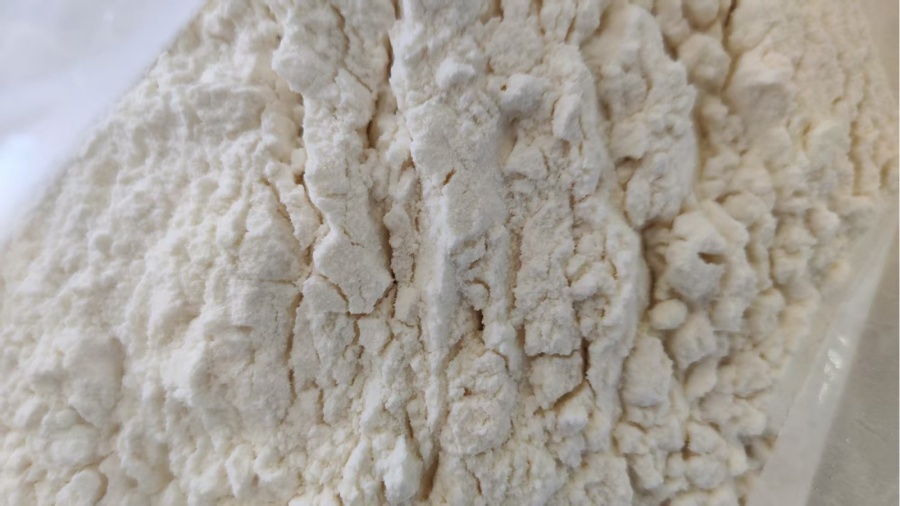
- Powder filling of choice (supplement, herbal blend, or medication prescribed)
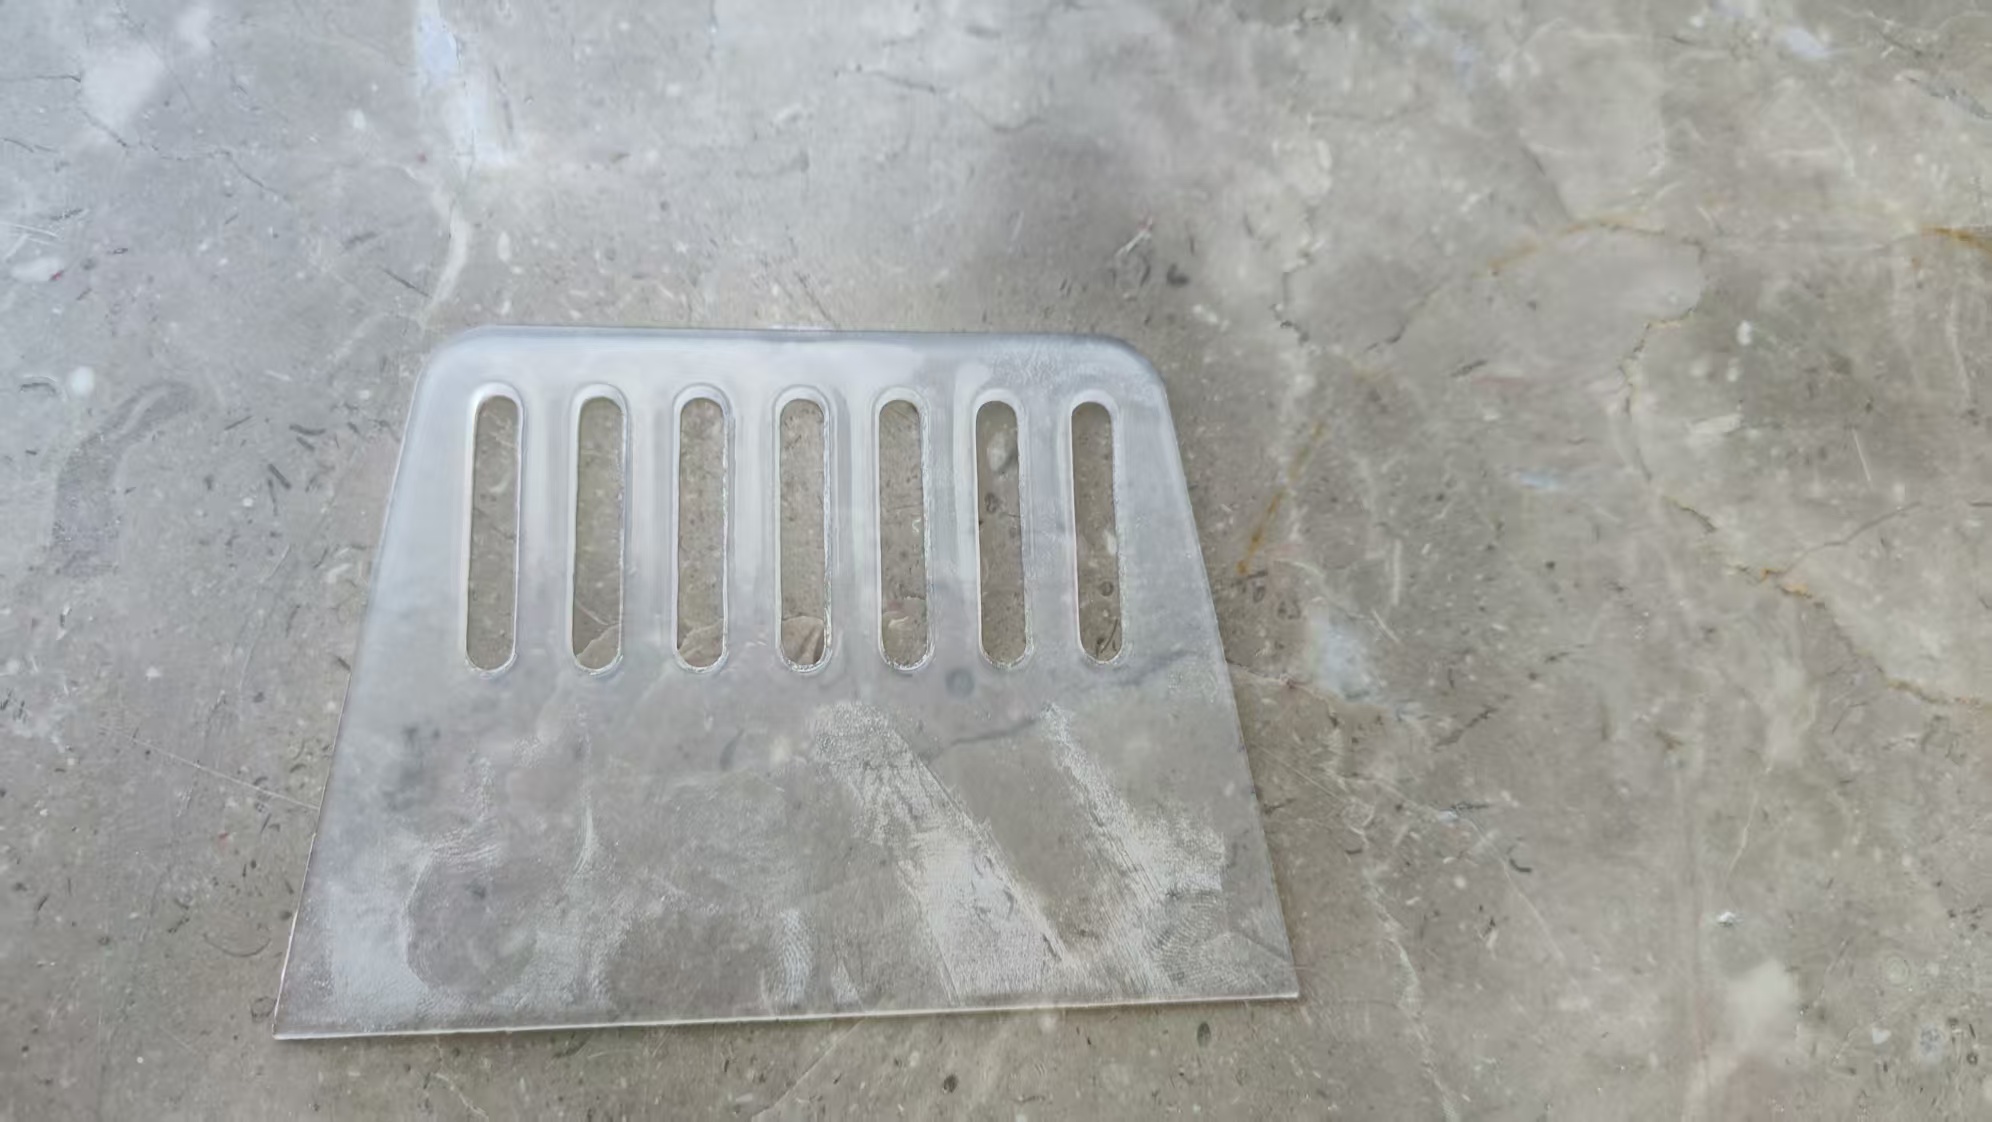
- Powder scraper
- Compacting tool
- Gloves and hand sanitizer

How to Fill Capsules: Step-By-Step Guide
Before you start the process, set up a clean area where you can fill and store the capsules. Keep them in a dry environment at room temperature, more so between 68°F and 77°F (20°C to 25°C).
Once you’ve found a place, get started with the first step:
Step 1: Set the Body Plate
The capsule filling plate should come with a set of trays.
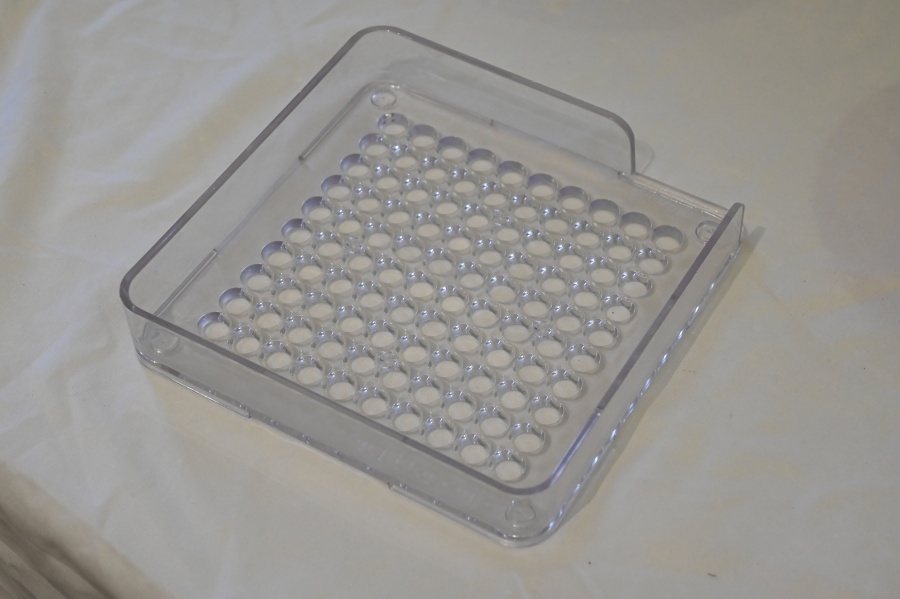
First, take the body plate, the one with the deeper holes, and align it with the loading tray.
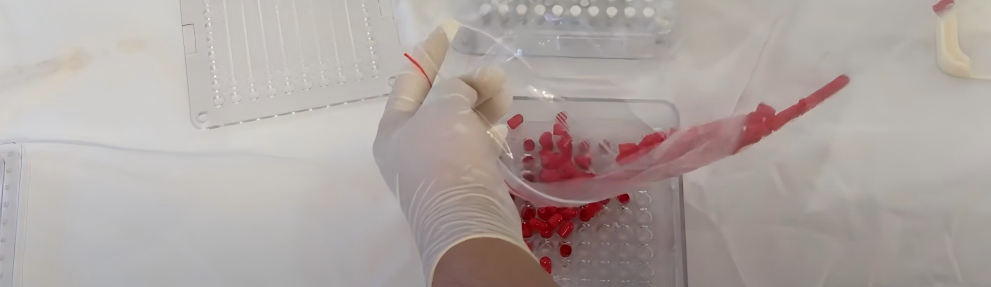
Step 2: Fill the Tray with Capsules
Pour 100 to 200 capsule bodies onto the loading tray.
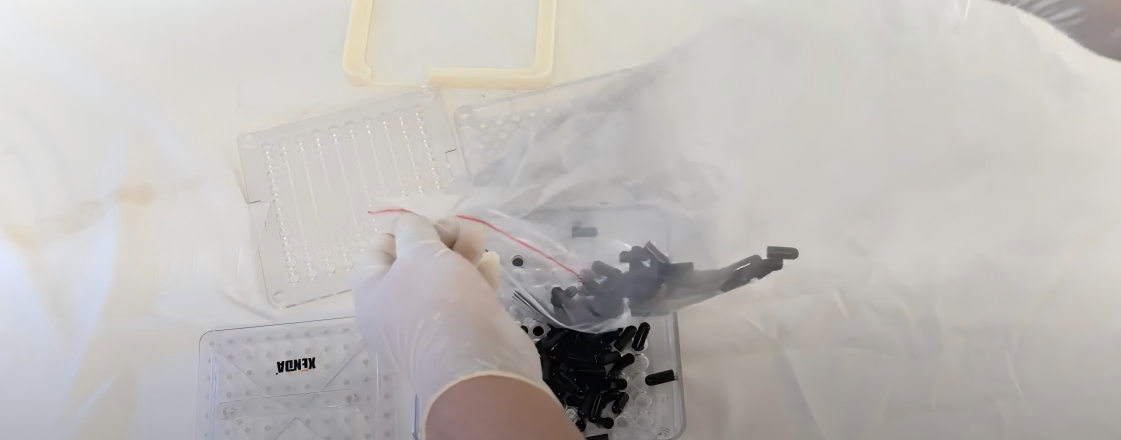
You’ll have to gently tilt and shake the tray so the capsules slide into all the holes. As you do this, the capsules will fall into place and align themselves.
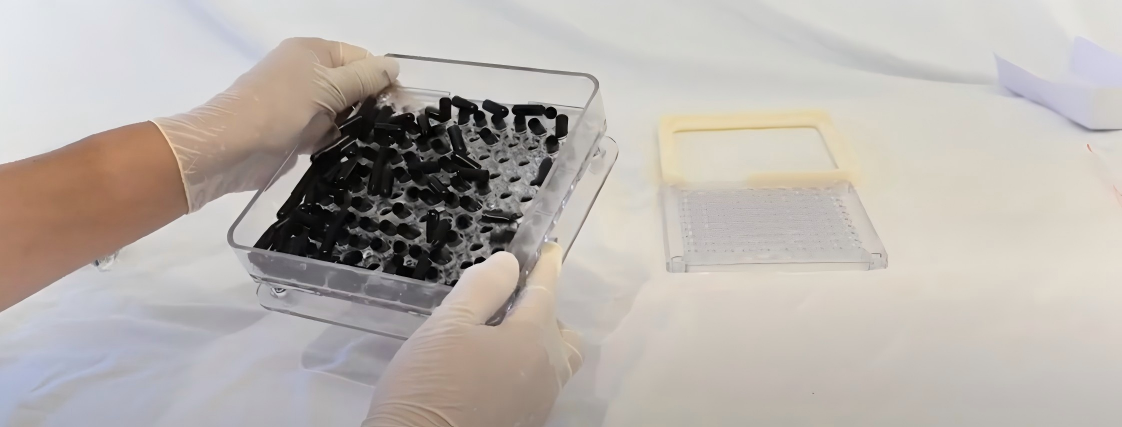
Remove any excess capsules from the tray and manually adjust any that may be sitting upside down in the holes.
Step 3: Pour the Powder into the Capsules
Now it’s time to add your chosen supplement or powder. Remember to place the body plate on the filling station first.
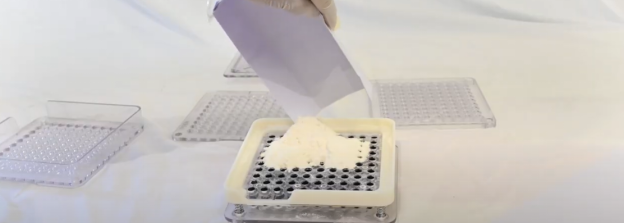
Pour an even and sufficient amount of powder onto the plate. It should be enough to fill all the capsules and even leave excess powder behind.
Step 4: Scrape the Tray
Next, use the powder scraper to push the excess powder into any empty capsules. Try to pull the scraper in one direction to fill the capsules.
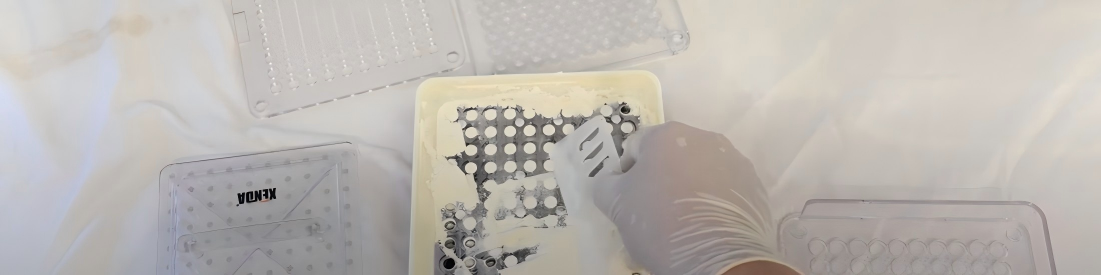
Keep scraping the powder until all the capsules are filled and overflowing. If there’s still excess powder left, pour it onto a clean sheet of paper and set it aside for further use.
Step 5: Use the Compacting Tool
Take the compacting plate and gently press it down onto the powder-filled capsules.

This step is important because it makes room for more powder, assuring the capsules are tightly packed and free of air gaps.
It also helps maintain accurate dosing, preventing half-filled capsules from being used.
Step 6: Repeat the Filing Process
Repeat the filling process with the powder that was set aside.

Add more powder to the tray, scrape it again, and compact it once more. Repeat this process until the powder is flush with the top of the capsule hole.
Step 7: Load the Cap Plate
Now take the cap plate and fill it with the capsule caps.
The process is the same as loading the capsule bodies. Simply place the caps on the tray, then tilt and shake gently until they fall into the holes.
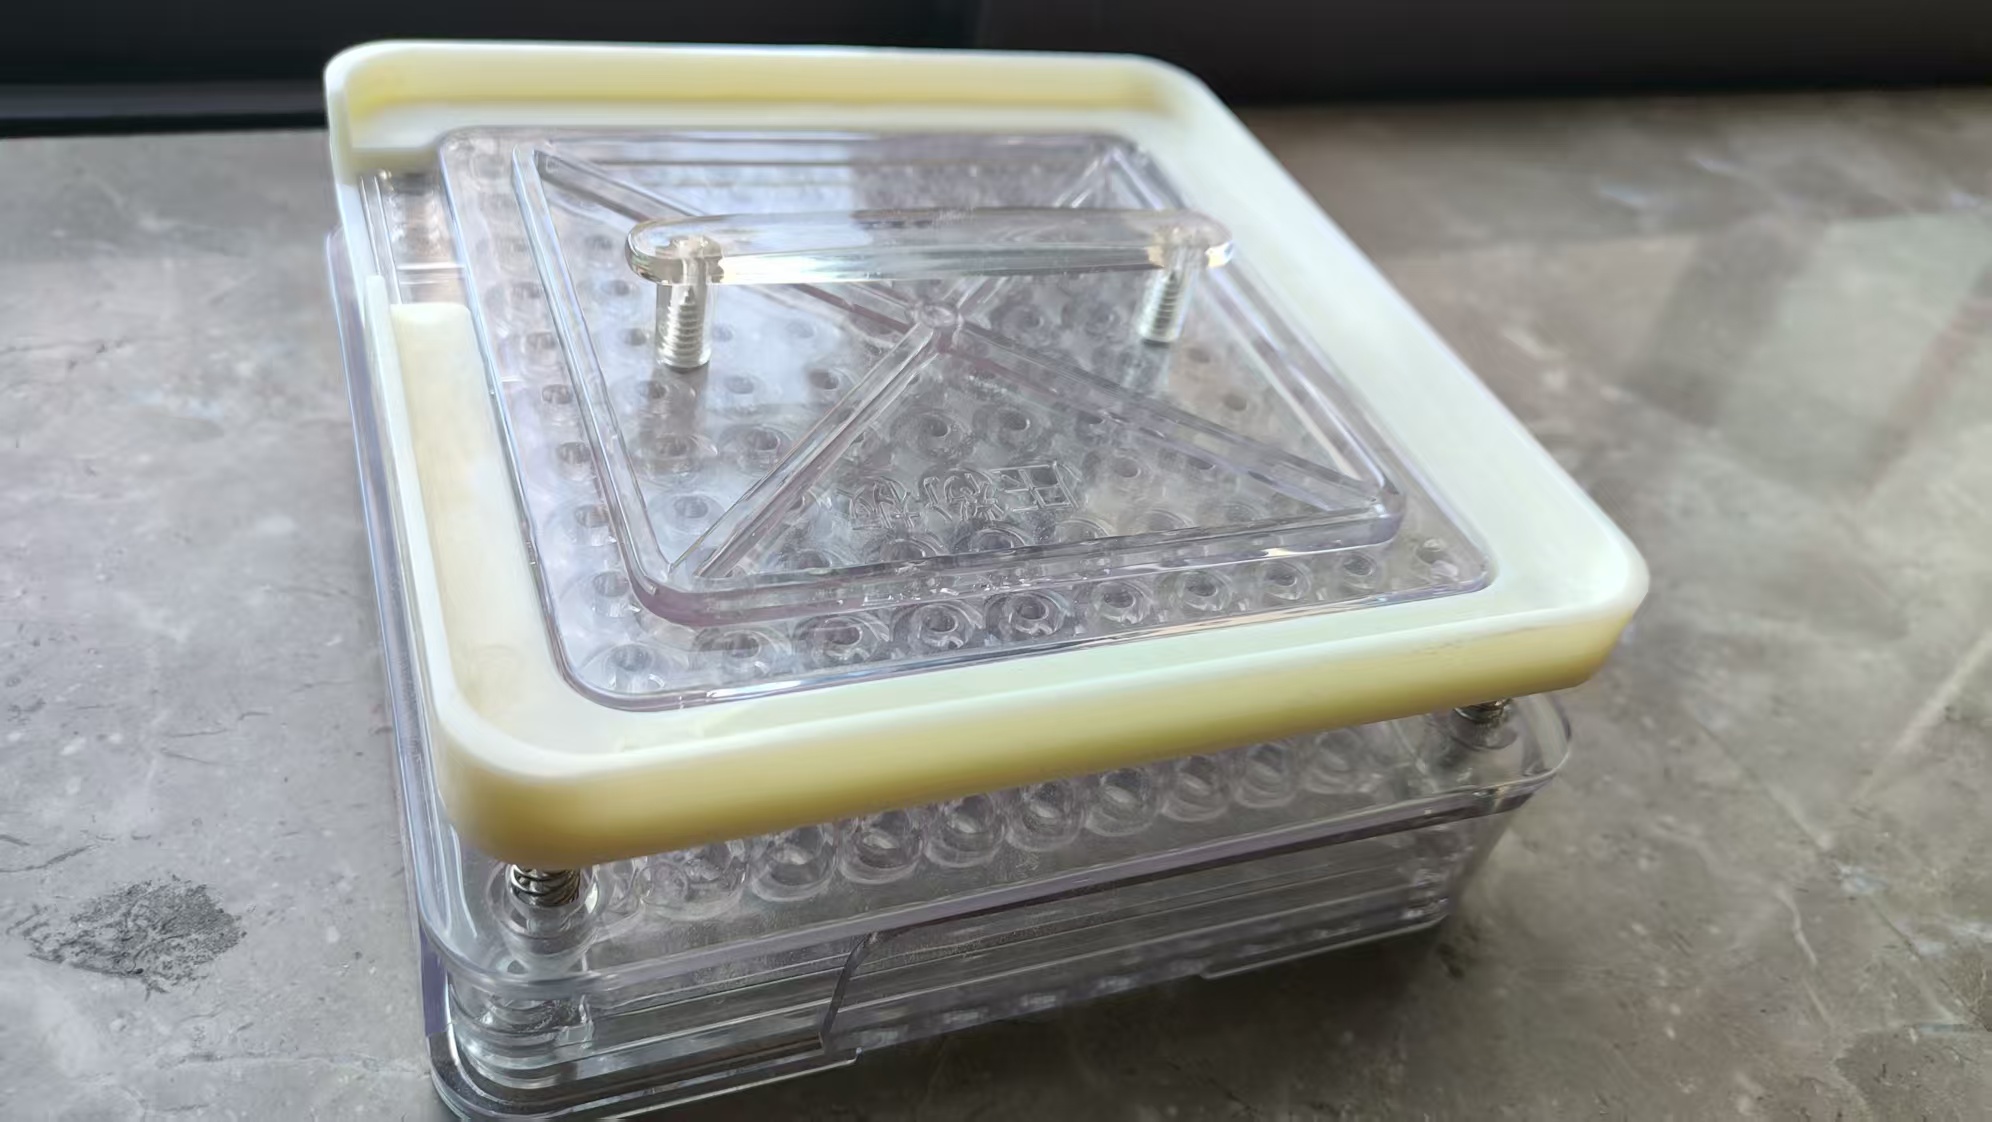
Step 8: Set Both Plates Together
Place the cap plate, which holds all the capsule caps, over the body plate. Do it in a way that the caps close up the body capsules.
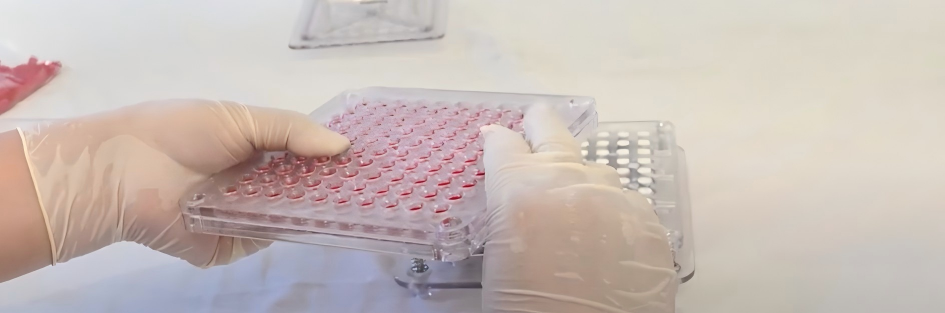
Make sure to align all the guide pins and then press down evenly onto the plate. You should hear a click that indicates the latch is engaged.
Then, manually press on both ends of each capsule to set the seal. It should be indicated with a crisp snap.
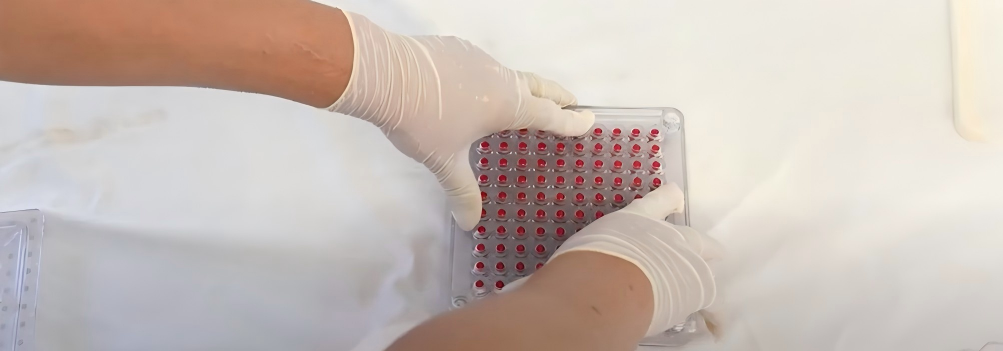
Step 9: Release the Capsules
Once the seal is in place, you can observe your finished work. Simply remove both the trays and take the filling plate with all the capsules.

Overturn the plate and gently tap it onto a clean surface. The finished capsules should slide out easily.
Conclusion
With that final step, you’ve successfully learned how to fill capsules. The first couple of tries might not give the perfect results. But once you’ve had enough practice, you’ll be able to increase the quality and efficiency of your capsules.
If you want to learn more about capsule filling machines, please check here!