Skip to content
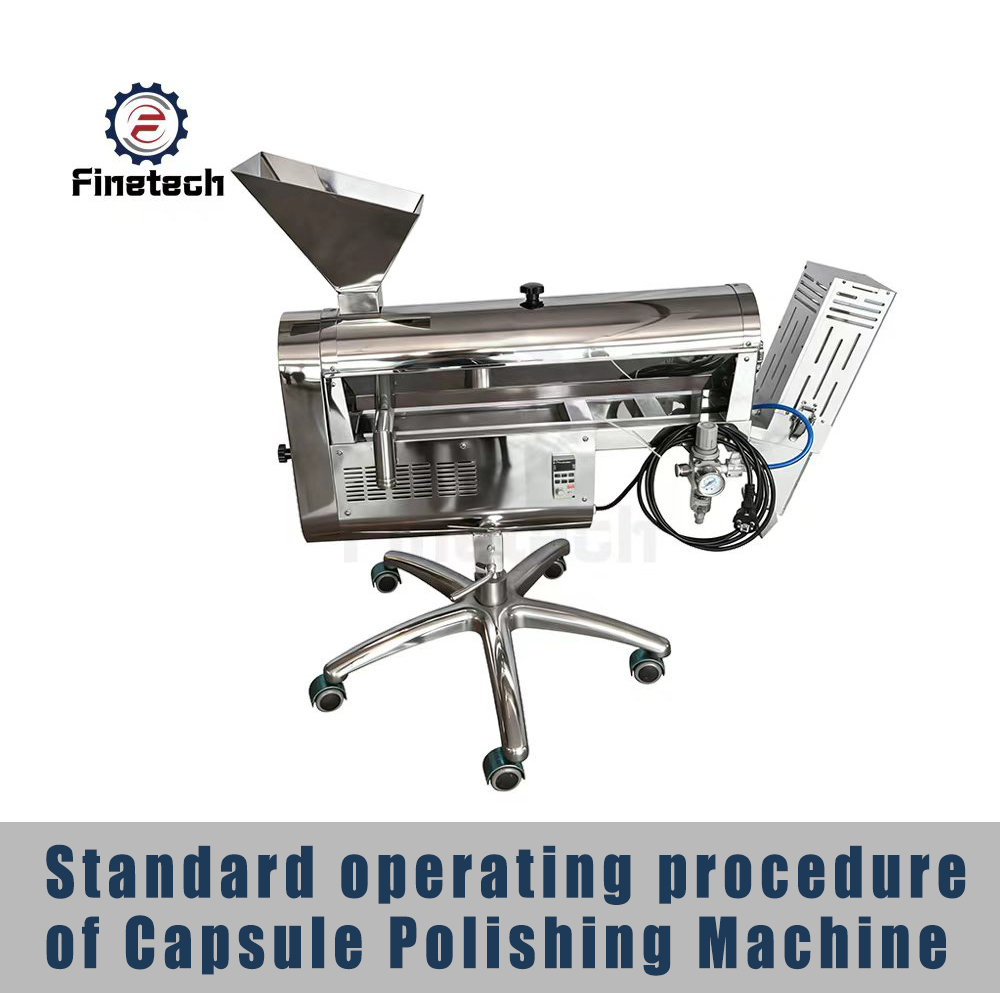
1.0 OBJECTIVE:
1.1 This document tells staff how to run the Capsule Polishing Machine the right way.
1.2 We want every batch polished the same way, every time.
1.3 Following this SOP keeps the product safe and meets GMP rules.
2.0 SCOPE:
2.1 This SOP covers the Capsule Polishing Machine in the production department.
2.2 Use it whenever you operate, clean, or do maintenance on the machine.
2.3 It applies to all filled hard gelatin capsules that need polishing after the filling step.
2.4 All operators and production staff must follow this procedure.
3.0 RESPONSIBILITY:
3.1 Operator: Runs the machine, does in-process checks, and keeps the area clean.
3.2 Production Chemist: Supervises the operation, checks the batch records, and handles any problems that come up.
3.3 IPQA: Gives line clearance and verifies cleaning before the next batch.
3.4 Maintenance: Fixes breakdowns and does scheduled upkeep on the machine.
4.0 ACCOUNTABILITY:
4.1 The Production Manager owns this SOP.
4.2 Production Manager approves any changes to this procedure.
4.3 Production Manager makes sure staff get proper training before they touch the machine.
4.4 Any deviations go to the Production Manager for review.
5.0 PROCEDURE:
5.1 Pre-Operation Checks:
5.1.1 First things first—check that the area looks clean. The machine should be clean too. You’ll see a “CLEANED” label if it’s ready.
5.1.2 Grab the Equipment Usage Log. Jot down today’s date, the time, which product you’re running, the batch number, and your name.
5.1.3 Peel off that “CLEANED” label now. Slap on an “UNDER PROCESS” label instead.
5.1.4 You can’t start without a Line Clearance Certificate. Get one from IPQA.
5.1.5 Got your BMR? This SOP? Any checklists you need? Good. Keep them close by.
5.1.6 One more thing—double-check that nothing from the last batch is hanging around. Mix-ups cause big headaches.
5.2 Precautions:
5.2.1 Guards exist for a reason. Keep them shut when the machine runs.
5.2.2 Safety switches? Don’t even think about bypassing them.
5.2.3 Want to modify something on the machine? Get approval first. No exceptions.
5.2.4 Here’s a big one: moving parts can hurt you. Never touch, fix, adjust, or oil anything while the machine is going.
5.2.5 Working on the machine? Installing parts? Taking it apart? Cleaning it? Turn off the main switch first. Every single time.
5.2.6 Those safety devices stay on. Period.
5.2.7 For the surface and control panel, a soft dry cloth works best. That’s it.
5.2.8 Static buildup is no joke with capsules. Ground the machine before you flip it on.
5.2.9 Suit up with your PPE—gloves, safety glasses, dust mask. Don’t skip any of these.
5.2.10 Resist the urge to overload the hopper. Stick to the rated capacity.
5.2.11 Clutter slows you down. Keep only what you need in the work area.
5.3 Safety System Checks:
5.3.1 Once a week, run through these tests. Write down your findings.
5.3.1.1 Flip the main power switch. Power should cut immediately.
5.3.1.2 Smack that emergency stop button. Everything should halt.
5.3.1.3 Pop open a safety guard while it’s running. Machine should freeze.
5.3.1.4 The overload relay—does it trip when it should? Test it.
5.3.1.5 Glance at the indicator lights and alarms. All working? Great.
5.4 Machine Components:
5.4.1 Inlet Hopper: Capsules go in here. They come straight from the filling machine or maybe a holding container.
5.4.2 Polishing Brush Assembly: Picture soft bristles spinning around. They scrub powder and dust right off each capsule.
5.4.3 Polishing Chamber: This enclosed section is where the magic happens. Capsules tumble and brush contact does the polishing.
5.4.4 Vacuum System: Dust flies everywhere during polishing. The vacuum sucks it all away so it doesn’t coat the capsules again.
5.4.5 Discharge Chute: Shiny capsules exit through here. Next stop: packaging or further processing.
5.4.6 Control Panel: Start button, stop button, speed dial, emergency stop, indicator lights—all live here.
5.4.7 Speed Controller: Different capsules need different brush speeds. This dial lets you fine-tune it.
5.5 Assembling:
5.5.1 Power off. Always start assembly with the machine dead.
5.5.2 Which brushes fit your capsule size? Grab those. But wait—inspect the bristles. Bent or ratty looking? Toss them and get fresh ones.
5.5.3 Snap the brushes into their holders. Wiggle them. They shouldn’t move.
5.5.4 The inlet hopper slides on top. Line it up so capsules fall straight into the chamber.
5.5.5 Click the discharge chute onto the outlet.
5.5.6 That vacuum hose needs a snug fit. Loose connections mean weak suction.
5.5.7 Guards and covers go back on now. Tighten everything down.
5.5.8 Take a look at the polishing bed angle. Too flat and capsules won’t roll properly. Too steep and they fly through too fast. Adjust until it looks right.
5.5.9 Stick a clean container underneath to catch what comes out.
5.6 Operation:
5.6.1 Main power—flip it on.
5.6.2 Fire up the vacuum. Hold your hand near the port. Feel strong suction? You’re good.
5.6.3 Press START. Brushes begin spinning.
5.6.4 Let it run empty for a couple minutes. Weird noises? Vibrations that seem off? Stop and investigate before going further.
5.6.5 Time to set the brush speed. Somewhere between 200 and 400 RPM usually works. Smaller capsules often do better on the slower end.
5.6.6 Now feed some capsules into the hopper. Easy does it. A steady trickle beats dumping a huge pile.
5.6.7 Watch them travel through. Smooth flow? No jams or clogs? Perfect.
5.6.8 Pull a few polished capsules and examine them:
5.6.8.1 Any powder still stuck on? Shouldn’t be.
5.6.8.2 Scratches or dents? Nope, not acceptable.
5.6.8.3 Cracked or popped open? That’s a problem.
5.6.8.4 Nice glossy finish? That’s what we want.
5.6.9 Results not great? Tweak the speed or slow down the feed rate.
5.6.10 Collect those polished capsules in labeled containers. Follow what the batch record says.
5.6.11 Dust bag getting puffy? Empty it. Full bags kill your suction.
5.6.12 Note your start time and stop time in the BMR. Anything weird happen? Write that down too.
5.7 In-Process Checks:
5.7.1 The BMR tells you how often to sample. Follow it.
5.7.2 Visual check: powder residue, damage, overall appearance. Use your eyes.
5.7.3 Spot any capsules that split open or cracked? Pull them out.
5.7.4 Count the rejects. Document the number.
5.7.5 In-process forms need filling out. Don’t forget.
5.7.6 Something looks really wrong? Tell your supervisor immediately. Don’t wait.
5.8 Shutdown Procedure:
5.8.1 No more capsules going in. Let the stragglers finish their trip through.
5.8.2 A minute or two of empty running clears the chamber out completely.
5.8.3 Hit STOP. Brushes wind down.
5.8.4 Vacuum off.
5.8.5 Main power off.
5.8.6 Take your container of finished capsules to wherever the BMR says they go next.
5.8.7 Paperwork time. BMR and Equipment Usage Log both need entries.
5.9 Cleaning Procedure:
5.9.1 Unplug it. Seriously. Power disconnected before you touch anything.
5.9.2 Fish out any leftover capsules hiding inside.
5.9.3 Yank the brushes out. Use compressed air or a soft brush to blast off powder buildup.
5.9.4 Vacuum the hopper, chamber, and chute. After that, wipe everything down using a cloth dampened with 70% IPA.
5.9.5 Outside surfaces get the same treatment—cloth plus IPA.
5.9.6 Dump the dust collection bag. Clean out the container while you’re at it.
5.9.7 Everything dry? Put it all back together.
5.9.8 Call QA over to inspect. Once they give the thumbs up, slap on a “CLEANED” label.
5.9.9 Log your cleaning in the Equipment Cleaning Log.
5.10 Troubleshooting:
5.10.1 Powder still on capsules: Worn brushes maybe? Or try bumping up the speed. Slower feed helps too.
5.10.2 Capsules jamming up: Check those brushes for damage. Feed slower. Also—are the capsules damp? Moisture causes sticking.
5.10.3 Dust everywhere: Vacuum struggling? Bag probably needs emptying. Also peek at the seals.
5.10.4 Grinding or rattling sounds: Stop. Now. Something’s loose or worn out. Find it before running again.
5.10.5 Won’t turn on at all: Power actually connected? Emergency stop popped out? Safety interlocks engaged?
5.11 Post-Operation:
5.11.1 Batch done? “TO BE CLEANED” label goes on.
5.11.2 Follow Section 5.9 for cleaning.
5.11.3 Wrap up all documentation. Equipment Usage Log, BMR, deviation reports if anything went sideways.
5.11.4 Leave the area ready for whoever comes next.
5.12 Records:
5.12.1 Equipment Usage Log
5.12.2 Equipment Cleaning Log
5.12.3 Batch Manufacturing Record
5.12.4 In-Process Check Records
5.12.5 Deviation Reports (when applicable)
6.0 ABBREVIATIONS:
6.1 SOP: Standard Operating Procedure
6.2 BMR: Batch Manufacturing Record
6.3 IPQA: In Process Quality Assurance
6.4 PPE: Personal Protective Equipment
6.5 IPA: Isopropyl Alcohol
6.6 RPM: Revolutions Per Minute
6.7 QA: Quality Assurance
6.8 GMP: Good Manufacturing Practice
7.0 REFERENCES:
7.1 Manufacturer’s Equipment Manual
7.2 GMP Guidelines
7.3 Internal Quality System Documents
8.0 REVISION HISTORY:
| Revision No. | Date | Description of Change | Prepared By | Approved By |
| 00 | DD/MM/YYYY | Initial Release |